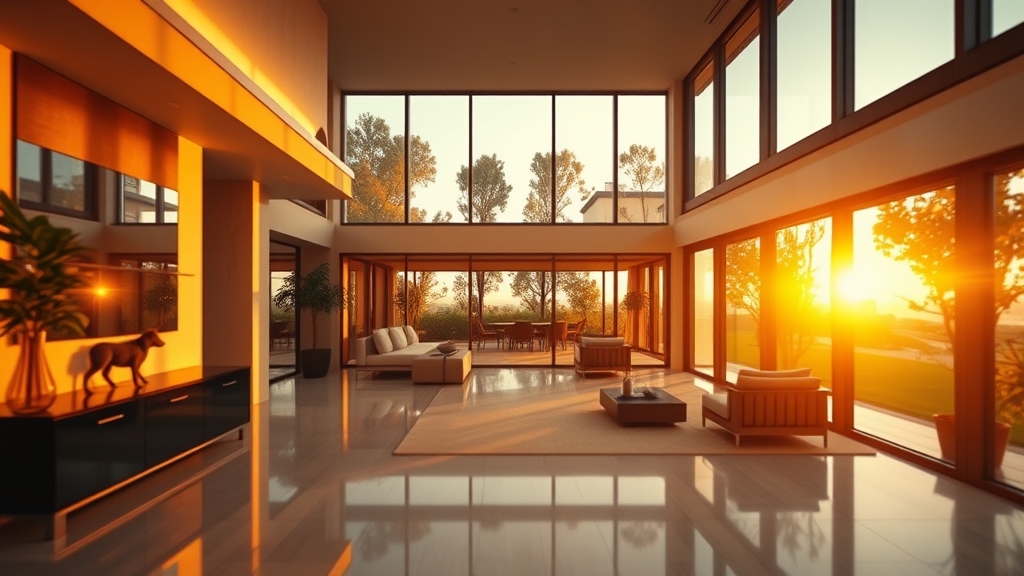
If you are a real estate photographer who has been asked “Can you also do video?” for the hundredth time, this guide is for you. The transition from stills to motion isn’t as intimidating as it sounds. Your eye for composition, lighting, and composition already gives you a head start. The key is learning to think in sequences, not just frames, and building a workflow that leverages video post-production efficiently.
Why Make the Move from Photos to Video?
The market is shifting. Listing pages with a property tour generate more views, and buyers expect a cinematic walkthrough. For a real estate videographer, this translates to more bookings and higher rates. Photography teaches you to freeze a moment; video teaches you to tell a story. The good news? You already understand staging, angles, and lighting. You just need to adapt those skills to motion.
Step 1: Upgrade Your Gear (Without Breaking the Bank)
You don’t need a $10,000 cinema camera to start. Begin with the essentials:
- A camera with 4K video capability (your current mirrorless likely works)
- A gimbal or stabilizer for smooth panning and walkthroughs
- A wide-angle lens (16-35mm or similar)
- ND filters to maintain a 180-degree shutter angle
- A drone for establishing aerial shots (if you don’t have one yet)
Master Movement
Tripod shots are fine, but video shines when the camera moves. Practice slow push-ins, gentle pans, and subtle dolly movements. Follow the “3-second rule” — hold each shot long enough for an editor to use it in a sequence. This is one of the most important skills for a new real estate videographer.
Step 2: Shoot for the Edit
Photographers shoot singles. Videographers shoot sequences. When you walk into a room, capture three types of shots:
- A wide establishing shot of the entire room
- A medium shot focusing on key features (kitchen island, fireplace, built-ins)
- A detail shot of textures and finishes (hardware, light fixtures)
This variety gives your editor the raw material to build a compelling property tour. It also forces you to think in transitions — how does this shot cut to the next?
Shoot in LOG or Flat Profile
If your camera has a LOG or flat picture profile, use it. It retains more dynamic range for color grading. If you plan to use an outsourced video editing partner, this is absolutely critical. Flat footage gives them the flexibility to match color, balance exposure, and create a polished, cinematic look that sets your brand apart.
Step 3: Embrace Video Post-Production
This is where most photographers hit a wall. You are used to Lightroom. Video is a different beast. You either need to invest months learning an NLE (like Premiere Pro, DaVinci Resolve, or Final Cut) or find a smart alternative: outsourced video editing. Why spend your evenings cutting timelines when you could be booking more shoots? Many successful production teams outsource the heavy lifting to a dedicated editing team.
Find a Video Editing Partner
A reliable video editing partner becomes an extension of your production team. They handle color correction, audio cleanup, motion graphics, and pacing — the boring, time-consuming parts. You handle the client interaction, the shoot, and the creative direction. That is a win-win.
Treat your real estate video editing partner as part of your production team, not a vendor. The best results happen when you communicate your style and let them execute.
Step 4: Build a Workflow That Scales
To grow your new video arm, you need a repeatable system. After each shoot:
- Upload all footage to a shared drive (Google Drive, Dropbox, or Frame.io)
- Create a simple brief for the editor: which shots are must-haves, what music style you want, and the overall vibe
- Set a delivery deadline — usually 48-72 hours after the shoot
- Review the first cut and give specific feedback
This streamlined approach makes real estate video editing fast and painless. You can shoot two or three properties in a day and trust that your editing partner will deliver a stunning final product by the end of the week.
Develop a Consistent Brand Style
Consistency is the secret weapon. Work with your editing partner to create a signature look — a specific color grade, a recurring music library, and a standard intro/outro. When buyers see your videos, they should recognize your style immediately. That builds trust and makes you the go-to real estate videographer in your market.
Your Next Step
Transitioning from photography to videography isn’t about mastering every tool and plug-in. It’s about adapting your existing visual instincts to motion and assembling the right team around you. Start small. Reach out to past clients and offer a discounted video walkthrough. Let an editing partner handle the post side while you focus on doing what you do best: being in front of the property, not behind a timeline.
Ready to scale your video business?
We edit real estate videos so you can focus on shooting.
Start a Project →