Introduction
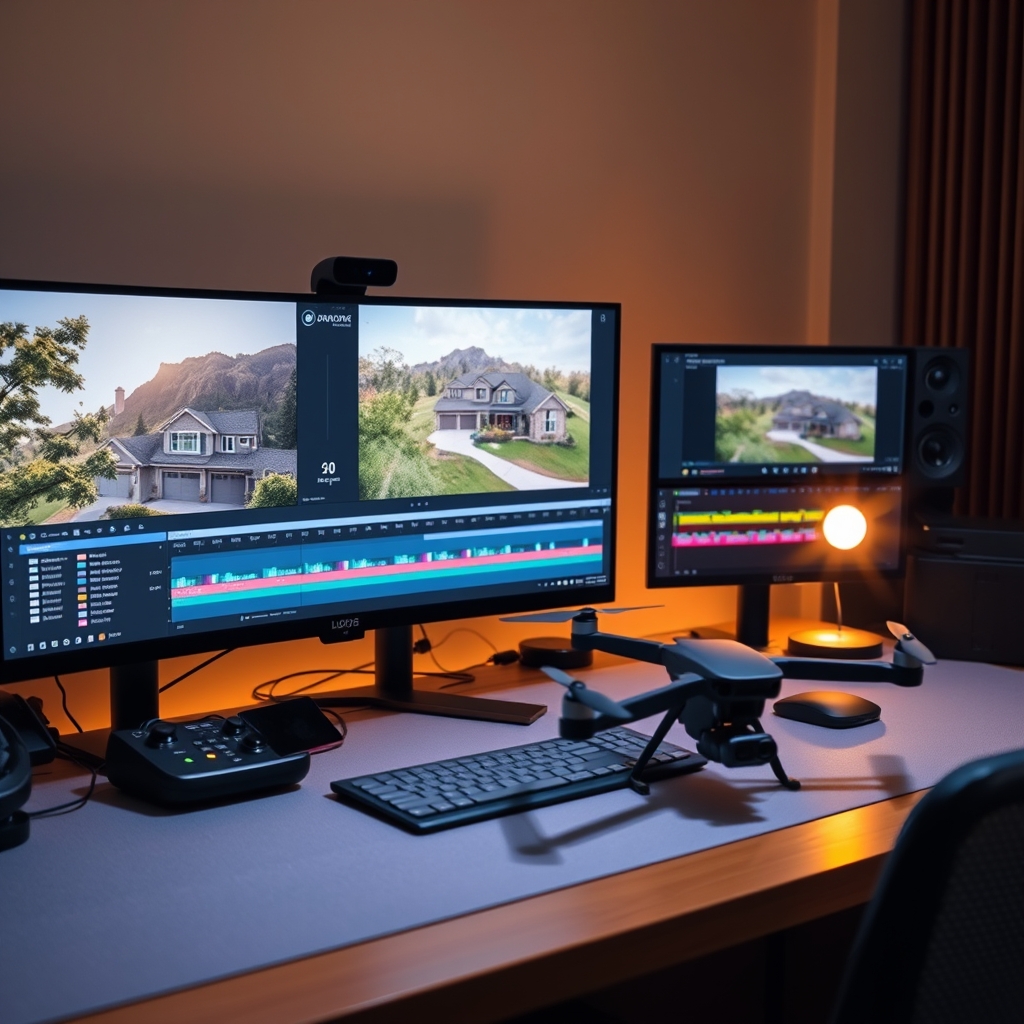
Drone footage has become a staple in real estate video editing, giving property tours a cinematic edge that buyers expect. But raw aerial clips are just the starting point. A smooth, well-paced edit can mean the difference between a listing that scrolls by and one that stops the scroll. This step-by-step workflow helps real estate videographers turn drone footage into polished property tours—whether you handle video post-production in-house or partner with a professional video editing partner.
Step 1: Organize and Import Your Drone Footage
Before you touch the timeline, organization saves hours. Create a folder structure by property address, then subfolders for ground and aerial clips. Import into your editing software and generate proxies—4K drone files can choke even powerful machines. Use bins or labels to mark promising shots: grand reveals, orbit shots, push-ins, and top-downs.
Pro tip:
Rename clips with descriptive keywords (e.g., "front_exterior_orbit_left") so you can find them instantly during the edit.
Step 2: Create a Rough Cut of the Property Tour
Start with the hero shot—usually a high, slow reveal of the property from the street or a wide orbit. Drag the best aerial clips onto the timeline in a logical flow: exterior first, then interior ground footage, then backyard and neighborhood context. Keep each clip 3–5 seconds; drone shots can linger, but buyers want momentum.
"The first 10 seconds determine whether a buyer keeps watching. Use a stunning drone shot up front." — Top-producing real estate agent
Don't worry about polish yet. Focus on story: how does the property feel? Does the edit move from public to private spaces? This rough cut is the skeleton of your property tour.
Step 3: Color Grade for Consistent Aerial Look
Drone cameras often produce flat, slightly washed-out footage. Apply a basic correction: adjust exposure, contrast, and white balance. Then match your ground clips to the aerial grade so the transition from sky to interior feels seamless. Use LUTs designed for real estate video editing—they save time and give a consistent, premium color palette.
Checklist:
- Correct lens distortion on wide-angle drone shots
- Pull highlights from skies to avoid blowouts
- Warm up interiors slightly for inviting feel
- Keep skin tones natural if people appear
Step 4: Add Motion, Speed Ramps, and Stabilization
Even stable drones produce micro-jitters. Run stabilization on every aerial clip—your editing software's built-in tool or a plugin like Warp Stabilizer works. Then add subtle motion: a slow zoom-in on the front door, a gentle pan across the roofline. Speed ramps are powerful: accelerate the boring middle of a long orbit, then slow down at the reveal point. This dynamic pacing keeps viewers engaged without feeling gimmicky.
Step 5: Audio, Music, and Final Export
Music sets the emotional tone—choose a track that matches the property's vibe (upbeat for modern lofts, soft piano for family homes). Add ambient sound if you recorded any: birdsong, distant traffic, or a fountain. Keep music low under any voiceover or agent commentary. For export, deliver in 4K at 24 or 30 fps, H.264 or H.265, with a high bitrate for online platforms.
When to Outsource Drone Video Editing
Editing drone footage is time-intensive. If your calendar is packed with shoots, outsourced video editing lets you focus on flying and client relationships. A reliable video editing partner understands real estate pacing, color grading, and delivery formats. Scaling your production team with an external editor means you can take on more listings without sacrificing quality or burning out.
Ready to scale your video business?
We edit real estate videos so you can focus on shooting.
Start a Project →