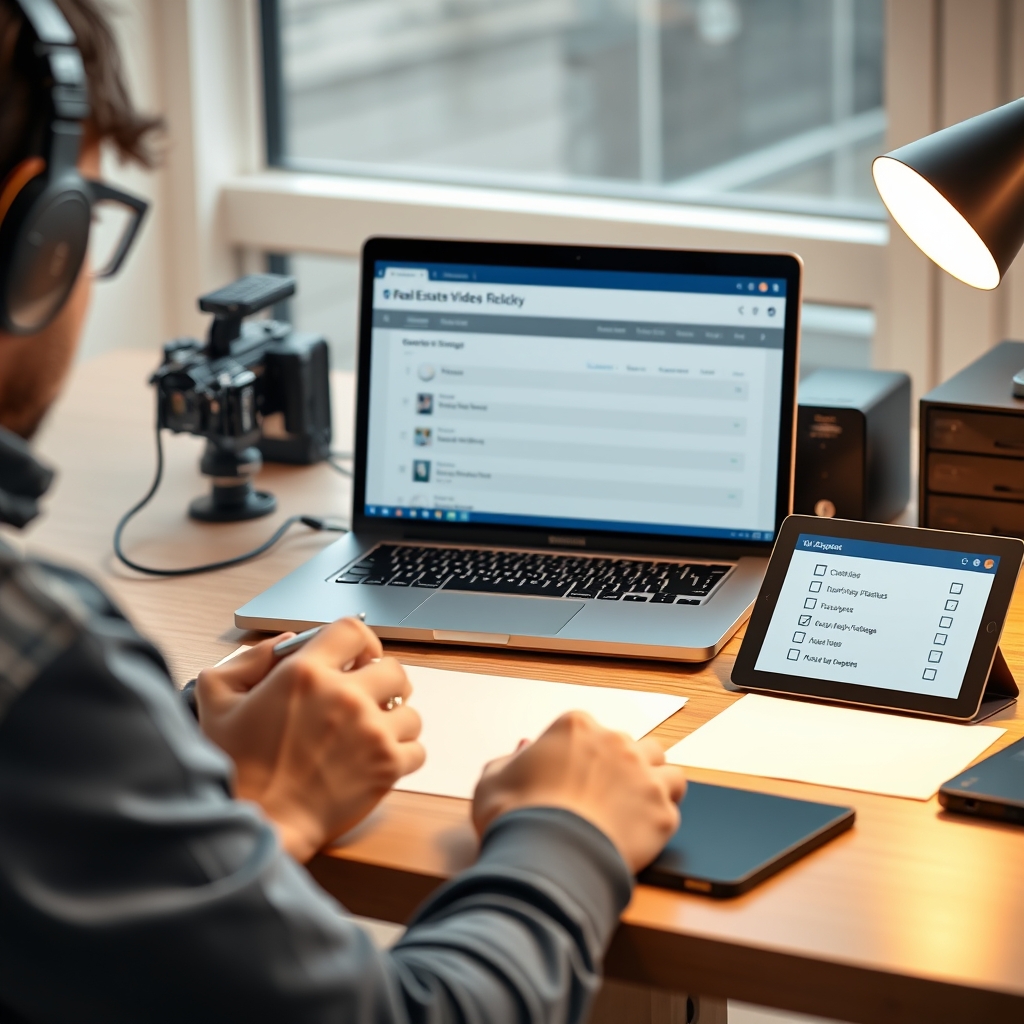
As a real estate videographer, your job doesn't end when you stop recording. Delivering raw footage to your video editing partner is a critical step that can make or break the final property tour. Poor organization or incomplete files lead to delays, miscommunication, and a final video that doesn't meet your standards. Here's a practical checklist to ensure your footage arrives ready for seamless video post-production.
1. Organize Your Files Before You Upload
Your editor shouldn't have to guess which clips belong to which room or which take is the final one. Take a few minutes to sort your footage into a logical folder structure.
- Folder per property: Create a main folder with the property address or client name.
- Subfolders by shot type: Separate folders for exteriors, interiors, drone footage, and b-roll.
- Rename files clearly: Avoid generic names like IMG_0001. Use descriptive names like 'MasterBedroom_Wide_v2' or 'Kitchen_Pan_Left'.
Pro tip: Many real estate video editing teams (including Hoang Editor) appreciate a simple PDF or text file with a shot list, noting any must-use clips or special instructions.
2. Choose the Right File Transfer Method
Real estate footage is often large, especially 4K or high-frame-rate drone clips. Using the right transfer method saves time and avoids corrupted files.
- Cloud storage: Google Drive, Dropbox, or WeTransfer are common. Ensure you have enough storage and upload speed.
- Physical drives: For massive projects, shipping an SSD or HDD might be faster. Always package drives securely.
- Dedicated portals: Some video editing partners provide a client portal for direct uploads. Check with your production team.
Whatever you choose, verify the upload completed and files are accessible before notifying your editor.
3. Include Essential Metadata and Notes
Your raw footage is only half the story. The more context you provide, the better your outsourced video editing partner can match your vision.
- Shot list: A simple document listing each clip with a brief description.
- Preferences: Mention preferred music style, pacing, or color grading feel.
- Agent/client requests: Any specific features to highlight (e.g., 'emphasize the backyard pool' or 'avoid showing the messy garage').
Clear notes reduce back-and-forth and ensure the final video aligns with the agent's expectations.
4. Double-Check Technical Specs
Before you hit 'send', confirm your footage meets the editor's technical requirements. Inconsistencies can cause issues in video post-production.
- Resolution and frame rate: Ensure all clips are the same, or note any mixed formats (e.g., 4K 24fps for interiors, 4K 60fps for drone).
- Color profile: If you shot in LOG or flat profile, tell your editor so they can apply the correct LUT.
- Audio: If you captured ambient or interview audio, include it separately and label it clearly.
Providing a short 'tech notes' document can save hours of troubleshooting.
5. Communicate Clearly and Set Expectations
Your video editing partner is an extension of your production team. Treat them like one.
- Deadlines: Be upfront about turnaround time. Rush jobs may incur extra fees.
- Feedback process: Agree on how revisions will be handled. Most editors include one or two rounds of revisions.
- Point of contact: Designate one person (usually you) to communicate changes to avoid conflicting notes.
A smooth handoff of raw footage sets the stage for a successful property tour video and a long-term relationship with your editing partner.
Ready to scale your video business?
We edit real estate videos so you can focus on shooting.
Start a Project →