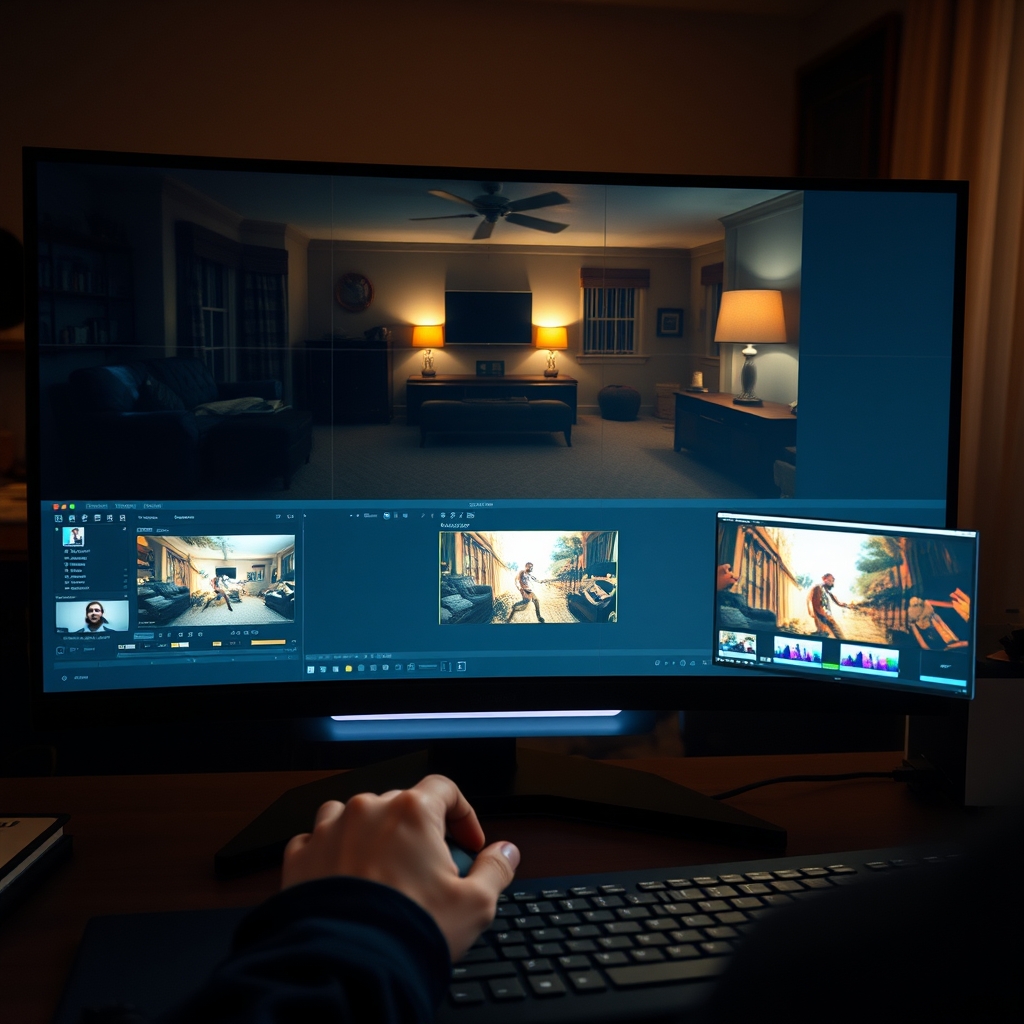
As a real estate videographer, you know that even the best-lit properties can produce dark, noisy footage in certain rooms or during twilight shoots. Instead of reshooting, you can often salvage those clips with targeted video post-production techniques. In this guide, we’ll walk through the essential steps to fix low-light footage, from exposure correction to noise reduction, ensuring your property tour looks polished and professional.
Step 1: Assess the Footage
Before making any adjustments, review your clips critically. Look for underexposure, color casts (often yellow or orange from tungsten light), and visible noise in shadows. Use your editing software’s scopes—waveform and vectorscope—to see exactly where the image is failing. This assessment will guide your correction workflow and prevent over-processing.
Step 2: Correct Exposure and White Balance
Start by raising the overall exposure until the midtones look natural. Then, adjust shadows and highlights separately to recover details without clipping. Low-light footage often has a warm color cast, so use the white balance tool to neutralize it. For tricky shots, manually set the temperature and tint. Real estate video editing relies on accurate colors to make interiors look inviting.
Pro tip: If you shot in RAW or Log, you have far more latitude to lift shadows cleanly. If you shot in a compressed format, go easy on exposure pushes to avoid banding and noise.
Step 3: Reduce Noise
Low-light footage is usually noisy, especially in the darker areas. Apply a denoise filter—most editing programs have built-in noise reduction, or you can use plugins like Neat Video. Start with a moderate setting to preserve detail, then increase if necessary. Be careful not to over-smooth, which can make the footage look waxy. This step is critical for a clean property tour.
Step 4: Enhance Colors and Contrast
After correcting exposure and noise, add back some punch. Use a gentle S-curve in the curves tool to boost contrast without crushing blacks. Increase vibrance slightly to bring life to wall colors and furnishings, but avoid oversaturation. A subtle vignette can also draw the eye to the room’s focal points. Remember, the goal is natural realism—clients expect the home to look like it does in person.
Step 5: Match Shots for Consistency
A production team delivering multiple rooms must maintain a consistent look. Use color match features or manually adjust each clip to match a reference shot. This is especially important when light changes from room to room. Consistent exposure and color across the entire video make the property feel cohesive and professionally edited.
Step 6: Final Polish and Export
Zoom in to 100% and check for residual noise, artifacts, or color fringing. Apply sharpening only if needed, and add a subtle grain if the denoise made the footage too smooth. Export in a high-quality format suitable for your client’s platform (e.g., H.264 for web, ProRes for further editing). Double-check that all fixes look natural in motion, not just on a still frame.
When to Consider Outsourced Video Editing
Fixing low-light footage can be time-consuming, especially for large property tour projects. If you find yourself spending hours on post-production instead of shooting, it may be time to partner with a video editing partner like Hoang Editor. We specialize in real estate video editing and can handle low-light correction, color grading, and final delivery, so you can focus on capturing more listings.